


This year, I decided to try out flexible seating in my second grade classroom, and I am super excited! So in this post, I am going to tell you how I have gotten started with it so far, and give you a free download of the Flexible Seating Rule Chart that I made for myself.

To start off with, let me explain that although last year I taught a first/second grade combination class (also known as a split grade class,) this year I am teaching a straight second grade! No combo, yeah! I was originally placed in third grade, so I am happy to be doing at least a partial repeat of what I did last year. What a relief! My kids are sweeties, and I am so pleased! I only found out that I was switched from third to second ONE WEEK before school started, but I wanted to jump for joy! I am SO much more comfortable with the younger kids… phew!

Now, back to flexible seating. I decided to really jump into this and JUST DO IT, as they say in the Nike ads! So… I got rid of all of my DESKS and decided to use just tables and the different seating options in the room. I was comfortable doing this, because my desks are all being stored in the classroom next door. I can get them all back tomorrow if I want them, so the risk is minimal. When I found that out, I was more willing to give it a go!
To get started, I made this rule chart that I would like to share with you. My husband tiled it so that you could print it out nice and large, too! I hope it is useful! Download it FREE, here!

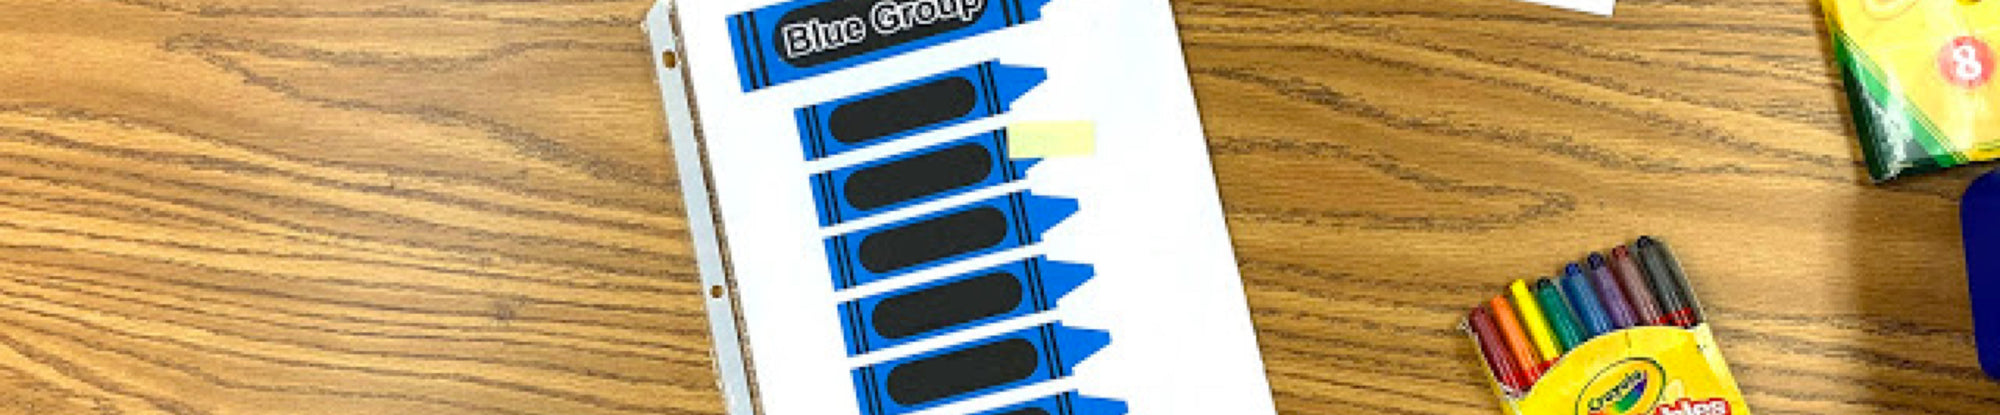
These are what their supply cubbies look like, with some white SitSpots (affiliate) in front of them! Since the children don’t have desks, they put their things in the cubbies. I had used these cubbies in Kindergarten, and inherited them from my dear teacher friend Sherry Kinne, whose son had made them in his high school Wood Shop class! When she lost her brave fight with cancer, her family kindly let me keep all of her classroom supplies that we had shared for over ten years. I had been using them for storing books and other things last year. I cleared everything out to make room for their supplies.
Here are the seating options I purchased. And yes, I used my own money. Yes, it was expensive. However, I saved the receipts and I am going to return some of them now that I know what my kids prefer and don’t seem to like so much. For example, I bought six laundry baskets for them to lay in and read, but many of them found the baskets uncomfortable, so I’ll probably return a few of them. Be aware that the baskets probably won’t last! One of them has already cracked on top, and I purchased the best ones I could find… at Walmart. 
-Laundry baskets with pillows

-Arm chair pillows

-Bath mats to lay on. (I got them from Ikea, and they are so cozy!)

-A nice soft rug

-Stability disks

-Lap trays

So far, I am still getting used to this new system of classroom management. I LOVE having the extra space that getting rid of the desks opened up! BUT… when I give directed lessons that really NEED a table, I am still trying to figure out how to manage everything. The first day, I had everyone sit on the tables, and some of the kids wound up with their backs to me! So I had them turn the kidney tables around, and that helped. I made a rule that nobody could sit with their back to the teacher.
Then one of the tables was situated in such a way that the kids really couldn’t see the screen I was projecting on. I moved those kids to the floor with the lapdesks, but then I had complaining from the rest of the kids that wanted that, too! So the next day, I just pulled that table into the center of the room for that lesson, and then had the kids help me push it back again later.

The advantages are wonderful, though! The kids are LOVING their independent reading time! They cuddle up with those books and I’m hardly having anyone complain and tell me that they “are done,” etc. The reading stamina that they are developing is wonderful!
As I figure it all out, I’ll post more. As for right now… baby steps! Are you doing flexible seating? How do you manage it in your classroom? Do you have desks?
-Heidi 
Follow me! Did you enjoy this post? Do me a favor and share it with your friends! And follow this blog by signing up email updates, or follow on Bloglovin’, or follow me on TPT! I’m also on Pinterest, Facebook, Twitter, Instagram, Google+ and YouTube, too! Don’t forget to sign up for our email newsletter (on the left sidebar) for special deals and promo codes that you won’t find out about anywhere else.


